
How to Check if Your VPN Is Actually Working
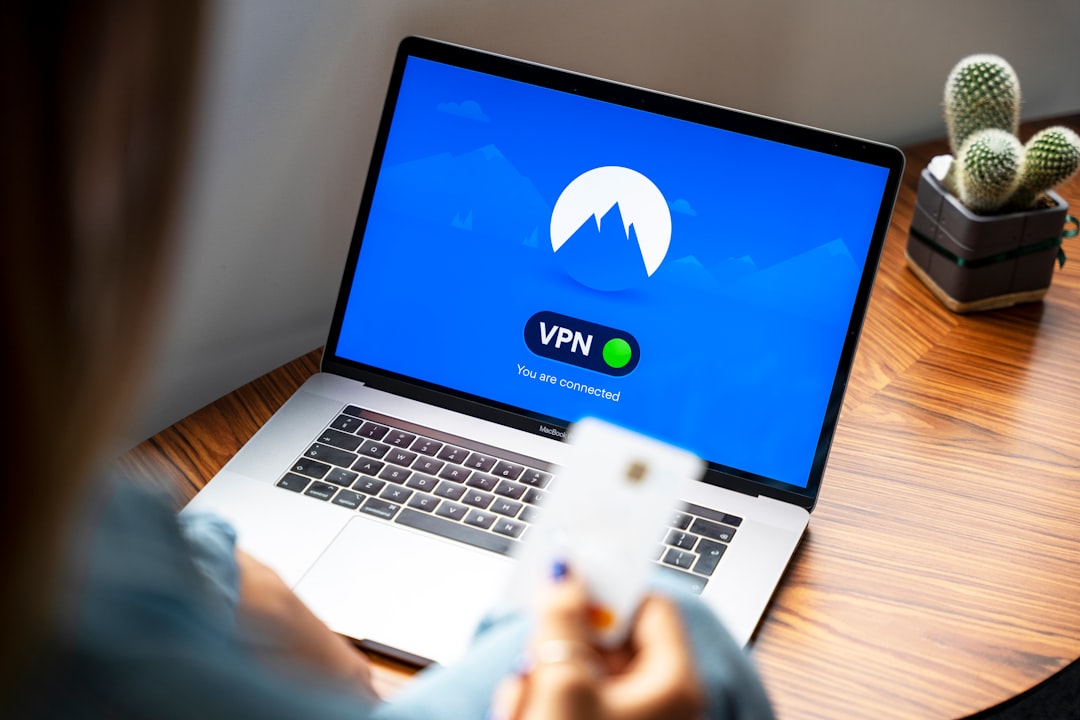
Virtual Private Networks (VPNs) promise privacy, security, and unrestricted access to the internet—but how do you know if yours is actually doing its job? Simply turning on your VPN app isn’t enough. A VPN can silently disconnect, leak data, or misconfigure without you ever realizing it. If you care about safeguarding your personal information, bypassing geo-restrictions, or protecting sensitive work data, it’s crucial to verify that your VPN is functioning properly.
TL;DR: To check if your VPN is working, confirm your IP address has changed, test for DNS and WebRTC leaks, and verify your connection is encrypted. Use online tools to compare your IP before and after connecting to the VPN. Perform leak tests and ensure the VPN kill switch operates properly. Regular testing is the best way to maintain privacy and security.
Contents
- 1 Why Verifying Your VPN Matters
- 2 Step 1: Check Your IP Address
- 3 Step 2: Perform a DNS Leak Test
- 4 Step 3: Test for WebRTC Leaks
- 5 Step 4: Verify Your VPN Encryption
- 6 Step 5: Test the Kill Switch
- 7 Step 6: Check for IPv6 Leaks
- 8 Step 7: Check Your Location-Based Access
- 9 Common Reasons a VPN Fails
- 10 How Often Should You Test Your VPN?
- 11 Signs Your VPN Is Working Properly
- 12 Final Thoughts
Why Verifying Your VPN Matters
A VPN works by routing your internet traffic through an encrypted tunnel to a remote server. This masks your real IP address and prevents outsiders—such as hackers, internet service providers (ISPs), or surveillance systems—from seeing what you’re doing online.
However, several things can go wrong:
- The VPN may disconnect without notifying you.
- Your DNS requests might bypass the VPN tunnel.
- Your browser may leak your real IP via WebRTC.
- Your device may reconnect to your regular internet during temporary drops.
Even high-quality VPNs aren’t immune to configuration problems. That’s why testing is essential.
Step 1: Check Your IP Address
The most basic way to verify your VPN is working is by checking whether your public IP address has changed.
How to Do It
- Disconnect from your VPN.
- Visit an IP-checking website (such as “What Is My IP”).
- Note your IP address and location.
- Turn your VPN on and connect to a server.
- Refresh the IP-checking page.
If the VPN is functioning properly:
- Your IP address should be different.
- The displayed location should match the VPN server location.
- Your ISP name should reflect the VPN provider instead of your actual ISP.
If your IP address remains unchanged, your VPN is not working properly. Either the connection failed, or your traffic is bypassing the tunnel entirely.
Step 2: Perform a DNS Leak Test
DNS (Domain Name System) is like the internet’s phonebook. When you type a website address, your device performs a DNS request to translate that domain into an IP address.
If your DNS requests go through your ISP instead of your VPN, you’re experiencing a DNS leak. This means your browsing activity could still be visible to your ISP—even though your VPN is connected.
How to Test for DNS Leaks
- Connect to your VPN.
- Visit a DNS leak testing website.
- Run the extended test.
What You Should See:
- DNS servers matching your VPN provider.
- Location consistent with your VPN server.
Red Flag: If you see your actual ISP listed, your VPN is leaking DNS requests.
Solution: Enable DNS leak protection in your VPN settings or manually configure your device to use secure DNS servers.
Step 3: Test for WebRTC Leaks
WebRTC (Web Real-Time Communication) is a browser feature that allows peer-to-peer communication for video chats and live streaming. However, it can sometimes expose your real IP—even if your VPN is active.
This leak happens at the browser level, meaning your VPN may technically be working, yet your real IP is still exposed.
How to Check
- Keep your VPN turned on.
- Visit a WebRTC leak test site.
- Look for any public IP addresses listed.
If you see your real IP address, you have a WebRTC leak.
Fix: Disable WebRTC in your browser settings or install a browser extension designed to block WebRTC leaks.
Step 4: Verify Your VPN Encryption
A major benefit of a VPN is encryption. Even if your IP changes, you need to confirm your traffic is truly encrypted.
This is especially important when using public Wi-Fi networks in cafes, airports, or hotels.
How to Check Encryption
- Connect to a public Wi-Fi network.
- Turn on your VPN.
- Use a packet analyzer tool (advanced users).
- Look for HTTPS browsing indicators in your browser.
While most people won’t manually inspect encrypted traffic, ensuring your VPN shows an active secure protocol (like OpenVPN, WireGuard, or IKEv2) is a good sign.
Tip: Always use modern protocols such as WireGuard or OpenVPN rather than outdated ones like PPTP.
Step 5: Test the Kill Switch
A VPN kill switch automatically disconnects your internet if the VPN connection drops. This prevents accidental exposure of your real IP address.
To test it:
- Connect to your VPN.
- Enable the kill switch feature.
- Force-disconnect your VPN (manually quit the app or disable Wi-Fi).
- Check whether your internet connection stops.
If your internet continues working without the VPN, the kill switch is not functioning.
This feature is essential for:
- Remote workers handling sensitive information
- Journalists
- Torrent users
- People in restricted regions
Step 6: Check for IPv6 Leaks
Some ISPs assign both IPv4 and IPv6 addresses. However, not all VPNs properly handle IPv6 traffic.
If your VPN only tunnels IPv4, your IPv6 address might remain exposed.
How to Test:
- Connect to your VPN.
- Visit an IPv6 leak testing site.
- See if your IPv6 address is visible.
If it is, enable IPv6 leak protection in your VPN or disable IPv6 in your system settings.
Step 7: Check Your Location-Based Access
If your main reason for using a VPN is accessing geo-restricted content, try this simple functional test:
- Connect to a server in another country.
- Visit a region-restricted streaming or content site.
- See if content from that location becomes accessible.
If the site still detects your original region, your VPN may not be routing traffic correctly—or the service may have blocked that VPN server.

Common Reasons a VPN Fails
Even premium VPN services can run into issues. Some common causes include:
- Outdated VPN software
- Misconfigured network settings
- Firewall interference
- Weak Wi-Fi signal causing disconnections
- Using an overloaded VPN server
Regularly updating your VPN app and switching to less crowded servers can often solve these problems.
How Often Should You Test Your VPN?
You don’t need to perform leak tests daily, but you should test your VPN:
- After installing it for the first time
- After major updates
- When switching devices
- If you change network environments
- If you notice connection instability
For privacy-conscious users, testing once per month is a smart routine.
Signs Your VPN Is Working Properly
Here’s a quick checklist:
- Your IP address changes when connected.
- Your ISP is not visible in DNS tests.
- Your real IP does not appear in WebRTC tests.
- Your internet cuts off when the kill switch activates.
- Your location matches the selected VPN server.
- You can safely use public Wi-Fi without exposure concerns.
If all these conditions are satisfied, your VPN is functioning as intended.
Final Thoughts
A VPN is one of the simplest tools for online privacy—but only if it actually works. Many users assume they’re protected just because the VPN icon is glowing green. In reality, leaks and silent failures are more common than people realize.
Fortunately, testing your VPN is neither complicated nor time-consuming. A few minutes of verification can give you peace of mind and ensure your data remains encrypted, private, and secure.
Remember: Trust, but verify. The internet is full of uncertainties—but your privacy doesn’t have to be one of them.