How to Fix Mouthpiece Not Working on iPhone (Step-by-Step)
So your iPhone’s mouthpiece isn’t working? Yikes — that little microphone at the bottom of your phone has a big job! Without it, people can’t hear you on calls, voice notes turn silent, and Siri gives you the cold shoulder. But don’t worry — we’ve got your back. Let’s fix it together in a fun and easy way!
Contents
- 1 First, let’s figure out if it’s really broken
- 2 Step 1: Check for Dirt or Obstruction
- 3 Step 2: Remove Your Case or Screen Protector
- 4 Step 3: Restart Your iPhone
- 5 Step 4: Update Your iOS
- 6 Step 5: Check App Microphone Permissions
- 7 Step 6: Test with Headphones
- 8 Step 7: Reset All Settings
- 9 Step 8: Try in Safe Mode
- 10 Step 9: Use Apple’s Voice Diagnostics
- 11 Step 10: Time for Repairs (If Needed)
- 12 Pro Tip: Use Voice-Enabled Apps on Another Device
- 13 Let’s Recap
First, let’s figure out if it’s really broken
Sometimes, what feels like a big problem is actually a tiny hiccup. Start by running a few tests. Here’s what to do:
- Make a phone call: Call someone. Ask if they can hear you clearly.
- Record a voice memo: Open the Voice Memos app and record something. Play it back and listen.
- Try Siri: Hold the Side Button and ask Siri a question. See if she answers you with what you’re saying.
If none of those work, don’t panic just yet. It might not be broken. Let’s try these steps first!
Step 1: Check for Dirt or Obstruction
Your iPhone’s mouthpiece sits at the bottom — right by the charging port. It’s tiny, and it’s a magnet for lint, dust, crumbs, and…pocket fuzz.
- Shine a flashlight into the microphone hole.
- Look for dust or debris.
- Use a soft-bristled toothbrush or a dry cotton swab to gently sweep it out.
Don’t blow into it. Moisture from your breath could get inside and cause more issues.
Step 2: Remove Your Case or Screen Protector
Some phone cases or screen protectors can block the microphone. If yours covers the bottom of the phone or wraps around in a weird way, it might be causing the problem.
- Take off your case.
- Remove any screen protectors near the bottom.
- Try a test call again.
If your voice sounds clear now, you’ve got your answer. Time to find a more microphone-friendly case!
Step 3: Restart Your iPhone
Sometimes the issue is just a minor software glitch. A quick restart can fix that.
- Hold the Side button and either volume button until the slider appears.
- Drag to power off.
- Wait a few seconds, then hold the Side button again to turn it back on.
Now try recording your voice. You might be surprised — it’s working!
Step 4: Update Your iOS
Apple is always squashing bugs in every new update. If your iPhone is behind on updates, that could be the culprit.
- Go to Settings → General → Software Update.
- If there’s an update available, tap Download and Install.
After updating, test your phone’s mic again. It could spring back to life!
Step 5: Check App Microphone Permissions
Is your mic only not working inside a specific app (like WhatsApp, Zoom, or Instagram)? The app may not have permission to access the microphone.
- Open Settings → Privacy & Security → Microphone.
- Find your app on the list and make sure the toggle switch is ON.
Still stuck? Let’s keep going. The answer is close!
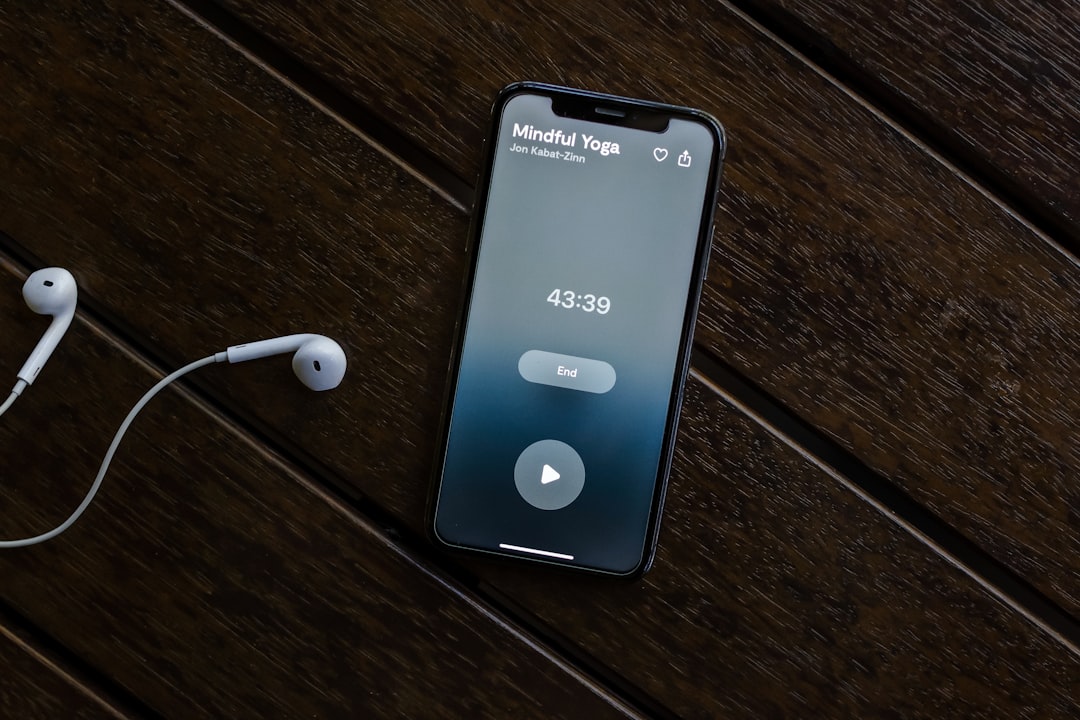
Step 6: Test with Headphones
Try plugging in wired headphones with a mic (or pair Bluetooth ones) and make a call.
- If they can hear you on headphones: your phone’s mouthpiece is likely the issue.
- If they still can’t hear you: the problem might be software, not hardware.
Good job — now we’ve narrowed it down!
Step 7: Reset All Settings
This won’t erase your stuff, but it will reset things like Wi-Fi passwords and permissions. Think of it as a deep refresh.
- Go to Settings → General → Transfer or Reset iPhone.
- Select Reset → Reset All Settings.
This can fix weird bugs that don’t respond to other tricks.
Step 8: Try in Safe Mode
iPhones don’t technically have a Safe Mode like Androids do, but you can try restarting without most background processes running by simply doing a force restart.
- Quickly press and release the Volume Up button.
- Then quickly press and release the Volume Down button.
- Finally, press and hold the Side button until the Apple logo appears.
This often clears crashing apps or buggy services that might be affecting the microphone.
Step 9: Use Apple’s Voice Diagnostics
Apple’s built-in diagnostics can help with troubleshooting.
- Contact Apple Support or visit the Apple Support app.
- They may ask to run a remote test on your microphone and help confirm if it’s hardware-related.
Easy and clever, right?
Step 10: Time for Repairs (If Needed)
If all else fails, your microphone might actually be broken. The good news? Apple knows how to fix it!
- Visit an Apple Store or an authorized service provider.
- Explain what you’ve tried so far (whoa, you’ve done a lot!).
- They’ll run tests and replace the mouthpiece if needed.
If your phone is still under warranty or you have AppleCare+, it might even be free or cheap to fix.
Pro Tip: Use Voice-Enabled Apps on Another Device
Can’t get your mic working right away? Here’s a temporary workaround:
- Use iMessages to text instead of calling.
- Use FaceTime with a headset.
- Try linking your WhatsApp to your computer and using its mic.
Life hack activated!
Let’s Recap
Here’s a fun list to sum things up:
- Test the mic with calls, Voice Memos, and Siri.
- Clean the microphone port.
- Remove the case or protector.
- Restart your iPhone.
- Update your iOS software.
- Check the app microphone permissions.
- Use headphones to narrow down the issue.
- Reset all settings if needed.
- Run diagnostics or visit Apple Support.
- Repair it only if you must.
Your iPhone mouthpiece should work again in no time. Sometimes, technology just needs a little human touch. Now go enjoy your perfectly working mic — sing some karaoke into it!